You know the spot I’m talking about. The one where when you see other people do it, you love it but when it’s in your home it means nothing but doubt and confusion. It’s the space that usually doesn’t have to have anything in it but a little part of your soul longs for SOMETHING to be there. It’s a smaller version of that room in the front of your house that doesn’t have a door but is the first thing you see when you walk in and currently stores old exercise equipment and a few dog beds that your dogs have outgrown. Sound familiar? No worries, I’m here to help!
I don’t care how big or small your living area is, odds are, you have a nook-like space somewhere. We happened to have 1 and a half in our apartment. Thankfully I turned the “1” into my office and the “half” is what I’m sharing right now. When I think of a nook I think of a corner space that is nestled inside a larger room. It can be useful but usually it’s usefulness isn’t noticed immediately. Our second nook space is between our bedroom window and closet and was just screaming to become more than just a corner.
Now before you go to your nearest home goods store to snag pillow, benches and plants, think about how you plan on using this space. It can be for the simplest things. For example, I love to light a candle and fill the room with a cool smell and ambiance. It can be full daylight outside and I’ll light a candle with no hesitation! So the entire purpose of our nook is to hold said candle, and that’s okay. Now that we have a goal, we can set about getting it done. The easiest thing would be to get a flat top stool from Goodwill and pop a candle on it, done and done, but we’re a little extra over here, so I think we can do a little better than that!
THE GROUNDING PIECE
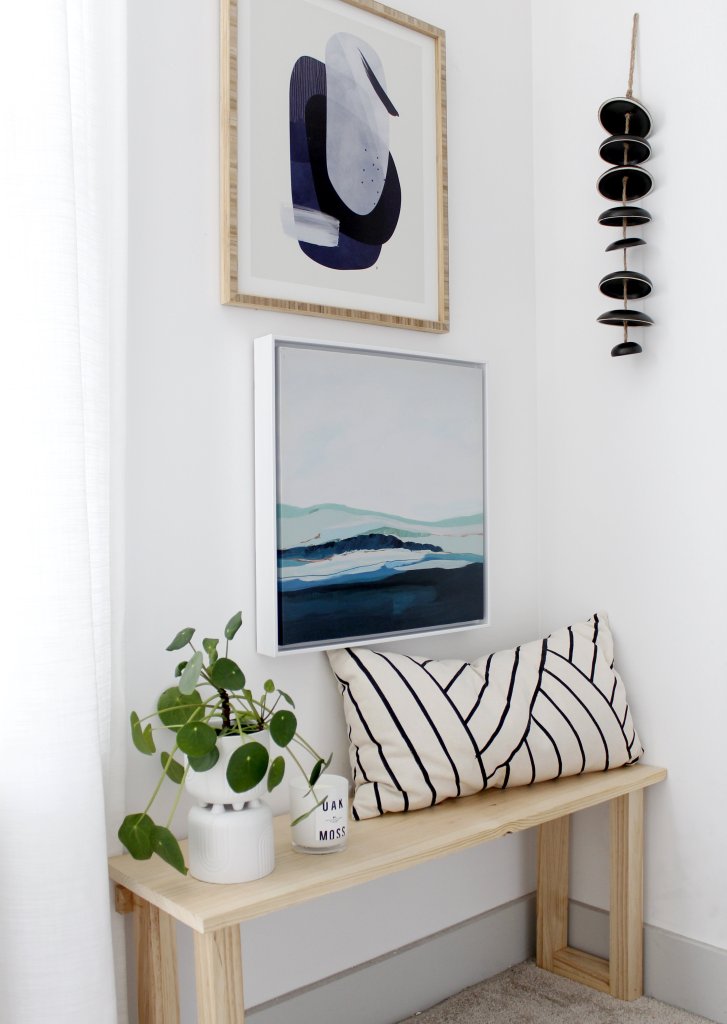
The first thing I did to get our nook poppin’ (after measuring!) was to start with a grounding piece. What would the candle actually sit on? It would need to be sturdy (definitely don’t want candles teetering on any wobbly edges), fill the space well (thankfully because I made the bench, the width was perfect) and allow for flexibility if I wanted to add other things (because ya’ll know I like to switch it up). An added bonus was that it needed to cover the outlets on the wall that we never use. The first DIY bench I ever made fit the bill perfectly! It was wide but not too deep and the height was spot on at about 16″ tall. That was easy!
WORK THE WALL
Now that the grounding piece is set, it’s time to get the wall going. Although we’re doing all this for a candle, it won’t sit at eye level, meaning it’s not the first thing you see in this space. The long vertical strip of wall grabs your attention so this is where the fun starts. If you remember, I used to have my clay clam art installation on the wall. It was the first thing I put over here and it stayed for quite a while. I loved looking over at it from the bed and seeing it every time I walked to and from the bathroom, but for my fall bedroom refresh I wanted to add a little color to this corner. On a oh-so-casual stroll through Homegoods, I came across two of the top art pieces and of course, snagged them both. I had plans to put them top to bottom, changing the orientation of one so the sameness wasn’t immediately obvious. Suffice to say, I knew this was the safer (sometimes boring) option, but I loved the piece and wasn’t sure if I’d find something else (art shopping is hard when you’re a spontaneous person and need instant gratification lol). A few days later I peeped Target’s new art drop for fall. Ya’ll, can I just say……it’s good, like really good. Lots of cool tones with pops of warm blushes and rusts. There was one piece I immediately feel in love with, but was it the same color of blue from the Homegoods piece? I was unsure, but I bought two anyway LOL.
Now because I don’t have colorful art side by side anywhere else in the apartment, I didn’t learn this fun lesson until I started working on the nook. I was originally disappointed that the two pieces were different shades of blue. The top one is definitely closer to purple while the bottom, while having lots of different shades, is more to green. There was no way these two pieces could work so close together right? SO-VERY-VERY-WRONG. After choosing to offset the bottom piece a bit and accepting that they were two distinctly different artworks, I fell in love with how unique they are to each other while still having a few things in common. They’re both cool-toned, abstract pieces in the blue family which is enough to connect them. I learned that like eye brows, your art pairings don’t have to be sisters, they can be cousins and still share a last name. If you like blues, try them all, mix it up and have fun. I promise it’ll make your next gallery wall so much more interesting!
TEXTURE PLEASE
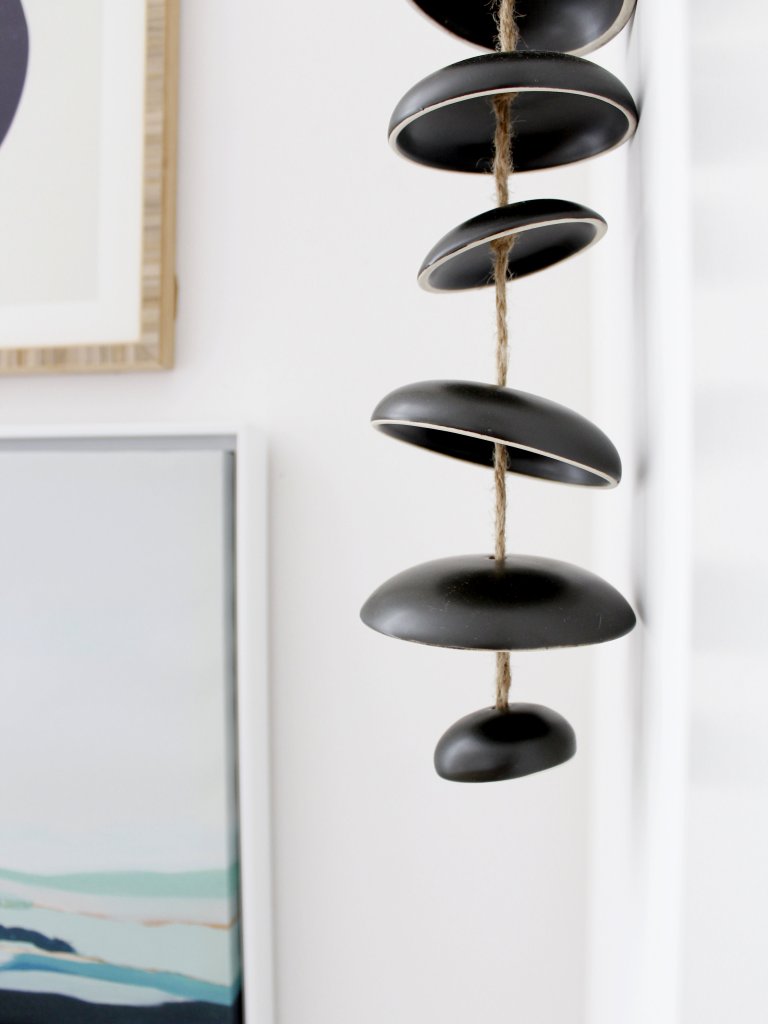
After becoming a master gallery wall designer lol, it was time to add my favorite styling element of all time….things coming right at you! Ya’ll know I love when stuff comes off the wall and without even trying, I usually have this element in every room in our apartment. It’s just something that adds so much interest to a space and brings the walls (especially white ones) to life. Whether it’s the wall planter in our kitchen or the slat wall in our bedroom I live for a good 3-D wall element. I originally had this wind chime in the living room but knew it would pop in the nook. I loved that the black would be a great contrast for the space and how the chimes mimicked the pilea plant shapes. I also could have done a hanging planter or an elevated shelved planter coming off of the same wall as the chime. The goal was to have something coming out into the space. Goal met.

STYLE WITH PURPOSE
It was now time for the finishing touches. Remember that candle we were talking about earlier, it’s now making its debut. The old me would have put a blue candle in here and been so proud of herself, but after learning my lesson with the art, I got daring and went with white (yes, I know…rebel move lol). Maybe next month I’ll use the rust colored candle I have to really make the warmer tones pop in the bottom artwork, but BABY STEPS PEOPLE. I found these really fun legged planters at Marshalls for $6 and loved the height and cool shape they made once I stacked them. After popping my pilea right in, I fell in love. My pilea used to sit in my office nook but it started drooping due to lack of sun so having it right next to a curtained window is perfect and it’s already starting to look so much better!
The last touch was the striped DIY pillow which added a little fun pattern while also tying in the rest of the room which is filled with stripes and neutral tones. Now I already had this pillow from months ago so adding it here didn’t cost me anything, but I wouldn’t spend money on a new pillow just to sit here, even if it tied the room together. Ya’ll know I’m all about styling for the low and prefer not to buy things just for the look but if you can use something you already have or DIY something for the low-low, go for it!
All and all, this little update cost about $70 (with most of that going towards the art) and I couldn’t be happier with my view as I scurry to the bathroom LOL.